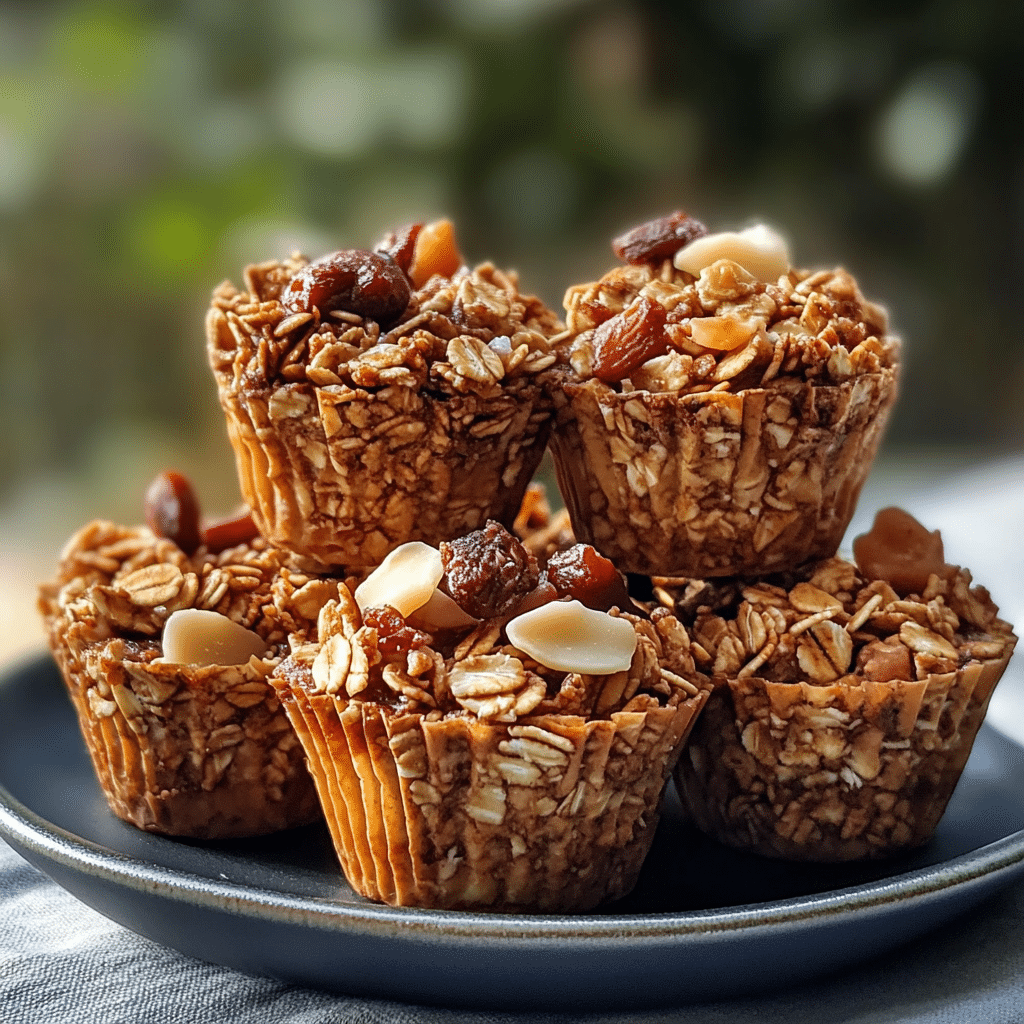
Granola Cups are a delightful and versatile snack that combine the wholesome crunch of granola with the convenience of a portable, cup-shaped treat. Perfect for breakfast, a midday snack, or a quick dessert, these granola cups are filled with a variety of delicious fillings like yogurt, fruit, or even nut butter. They offer a satisfying crunch with a touch of sweetness and are a great way to enjoy the nutritious goodness of granola in a fun and unique format. Whether you’re meal prepping for the week or looking for an easy way to serve breakfast to a crowd, these Granola Cups are an ideal choice. Plus, they can be customized with your favorite mix-ins, toppings, and fillings, making them endlessly adaptable to suit different tastes and dietary preferences.
Why You’ll Love This Recipe
1. Versatile and Customizable
These granola cups are incredibly versatile—you can fill them with yogurt, fresh fruits, nut butters, or even enjoy them on their own. The options are endless, so you can cater to various dietary preferences and flavor combinations.
2. Perfect for Meal Prep
Granola cups are great for meal prepping, making them an excellent grab-and-go snack for busy mornings or when you need something quick and nutritious.
3. Packed with Nutrients
Made with oats, nuts, seeds, and honey, these granola cups are not only delicious but also full of fiber, protein, and healthy fats to keep you satisfied for longer.
4. Kid-Friendly
These Granola Cups are easy to make and fun to eat, making them a great snack for kids. You can even let them customize their own fillings with their favorite fruits and toppings.
5. Naturally Sweetened
Granola Cups use honey or maple syrup for sweetness, providing a healthier alternative to sugary snacks. You can control the sweetness and keep it light and natural.

Ingredients
- Rolled oats
- Almonds (or any nuts of your choice)
- Chia seeds
- Sunflower seeds (optional)
- Honey or maple syrup
- Coconut oil or butter
- Vanilla extract
- Salt
- Greek yogurt (for filling)
- Fresh fruits (berries, bananas, etc.)
- Nut butter (optional)
- Cinnamon (optional)
Variations
- Vegan Granola Cups: Substitute honey with maple syrup or agave nectar, and use coconut oil instead of butter for a vegan-friendly version.
- Nut-Free: Skip the nuts and add more seeds like pumpkin or hemp seeds to make the cups nut-free and suitable for those with allergies.
- Chocolate Granola Cups: Add some cacao nibs or mini chocolate chips to the granola mixture for a sweet chocolatey touch.
- Peanut Butter Filling: For a protein-packed version, fill the cups with peanut butter and top with sliced bananas or strawberries.
- Tropical Granola Cups: Use coconut yogurt, tropical fruits like mango and pineapple, and shredded coconut for a tropical twist.
How to Make the Recipe
Step 1: Prepare the Granola Mixture
In a large bowl, combine the rolled oats, chopped almonds, chia seeds, sunflower seeds, and a pinch of salt. Add the honey or maple syrup, melted coconut oil (or butter), and vanilla extract. Stir until everything is well coated.
Step 2: Mold the Granola Cups
Preheat the oven to 350°F (175°C) and line a muffin tin with cupcake liners or lightly grease it. Spoon the granola mixture into each muffin cup, pressing it firmly into the bottom and sides to form a cup shape.
Step 3: Bake the Granola Cups
Place the muffin tin in the oven and bake for 10-12 minutes, or until the granola is golden brown and crispy. Keep an eye on them to prevent burning.
Step 4: Let Them Cool
Once baked, remove the granola cups from the oven and let them cool in the tin for a few minutes before transferring them to a wire rack to cool completely.
Step 5: Fill and Serve
Once the cups are completely cooled, fill them with your desired filling. Yogurt, fresh fruit, and a drizzle of honey are great options. Add any additional toppings, like nuts, seeds, or granola, and serve.

Tips for Making the Recipe
- Press the Mixture Firmly: Be sure to press the granola mixture firmly into the muffin tin to create solid, well-formed cups.
- Watch the Baking Time: Keep an eye on the granola cups as they bake to prevent them from over-baking or burning. The golden brown color is the key to knowing when they’re ready.
- Customize the Sweetness: Adjust the amount of honey or maple syrup to your preferred sweetness level.
- Use Non-Stick Muffin Tin: To easily remove the cups, use a non-stick muffin tin or line it with paper liners.
- Experiment with Fillings: Get creative with your fillings. Try using coconut yogurt, chia pudding, or even whipped cream for a different flavor.
How to Serve
Granola Cups can be enjoyed as a breakfast, snack, or even a light dessert. They are best served chilled with fresh fruit and yogurt, but you can also serve them with nut butter for a more filling treat. For a fun presentation, arrange them on a platter with different fillings and toppings so everyone can customize their own cups.
Make Ahead and Storage
Storing Leftovers
Once filled, Granola Cups can be stored in the refrigerator for up to 2-3 days. The granola will stay crisp for the most part, but it’s best to fill them just before serving to maintain freshness.
Freezing
You can freeze the baked granola cups (without the filling) for up to 1 month. Simply place them in a freezer-safe bag or container. When you’re ready to enjoy them, let them thaw in the fridge and then fill them with your preferred filling.
Reheating
If the granola cups lose their crispness, you can reheat them in the oven for a few minutes at 350°F (175°C) to restore their crunch before filling them.
FAQs
1. Can I make Granola Cups without a muffin tin?
Yes, you can shape the granola mixture into cups on a baking sheet, though using a muffin tin helps form a more uniform shape.
2. Can I use quick oats instead of rolled oats?
While quick oats can be used, they may not hold together as well as rolled oats. For best results, stick with rolled oats.
3. Can I make these granola cups without nuts?
Yes, you can omit the nuts and add more seeds or dried fruit instead.
4. Can I make these Granola Cups ahead of time?
Absolutely! You can make the granola cups in advance and store them in an airtight container. Just fill them with yogurt or fruit closer to when you’re ready to serve.
5. Are Granola Cups gluten-free?
Granola cups can be made gluten-free if you use certified gluten-free oats and ensure your fillings are also gluten-free.
6. Can I add dried fruit to the granola mix?
Yes! Dried fruits like cranberries, raisins, or apricots would make a great addition to the granola mixture for added sweetness and texture.
7. Can I use coconut oil instead of butter?
Yes, coconut oil is a great substitute for butter and also adds a lovely tropical flavor.
8. How do I prevent the granola cups from falling apart?
Press the granola mixture firmly into the muffin tin, and make sure they are fully cooled before removing them.
9. Can I freeze these granola cups?
Yes, you can freeze the baked granola cups without the fillings. Just make sure they are completely cooled before freezing.
10. Can I use yogurt with the granola cups?
Yes, yogurt is a fantastic filling for granola cups. You can also try using Greek yogurt for extra creaminess and protein.

Conclusion
Granola Cups are a delicious and healthy way to enjoy a crunchy, customizable snack or breakfast. Easy to make and incredibly versatile, they can be filled with yogurt, fruit, or even nut butter, depending on your preferences. Whether you’re prepping for the week ahead or looking for a fun and tasty treat to serve, these granola cups are the perfect solution. Make them ahead of time for a quick and satisfying snack or breakfast on the go!
Print
Granola Cups
- Total Time: 30 minutes (including cooling time)
- Yield: 6–8 granola cups 1x
- Diet: Vegan
Description
These Granola Cups are a fun and healthy way to enjoy breakfast or snack on the go. Made with a crunchy homemade granola crust and filled with creamy yogurt, fresh fruit, and optional toppings, they’re perfect for meal prep and a nutritious start to your day.
Ingredients
For the Granola Cups:
- 2 cups old-fashioned rolled oats
- 1/4 cup honey or maple syrup
- 1/4 cup almond butter (or peanut butter)
- 1/4 cup coconut oil (melted)
- 1/2 teaspoon vanilla extract
- 1/4 teaspoon ground cinnamon
- Pinch of salt
For the Filling:
- 1 cup Greek yogurt (or any yogurt of your choice)
- 1 tablespoon honey (optional, for sweetness)
- Fresh fruits for topping (berries, banana slices, etc.)
- Optional toppings: chia seeds, nuts, granola, coconut flakes
Instructions
- Preheat the oven: Preheat your oven to 350°F (175°C) and line a muffin tin with 6-8 paper cupcake liners or grease it lightly.
- Make the granola crust: In a large bowl, mix the rolled oats, honey (or maple syrup), almond butter, melted coconut oil, vanilla extract, cinnamon, and salt. Stir until everything is well combined.
- Shape the granola cups: Press the granola mixture into the muffin tin, creating a small well in the center of each. You can use your fingers or the back of a spoon to press it down evenly. The sides should form a cup shape.
- Bake the granola cups: Bake the granola cups in the preheated oven for 10-12 minutes or until they are golden brown and firm. Let them cool completely in the muffin tin.
- Prepare the filling: While the granola cups are cooling, mix the Greek yogurt with honey (if desired) until smooth and creamy.
- Assemble the granola cups: Once the granola cups have cooled, carefully remove them from the muffin tin. Fill each cup with a spoonful of yogurt and top with your favorite fresh fruit and toppings.
- Serve and enjoy: Serve immediately or store in the fridge for up to 3 days. These granola cups are perfect for meal prep, and you can make them ahead of time!
Notes
- These granola cups are customizable, so feel free to add different mix-ins like nuts, dried fruit, or seeds to the granola mixture.
- For a dairy-free version, use coconut yogurt or almond yogurt instead of Greek yogurt.
- You can use any fruit topping, depending on the season, such as strawberries, blueberries, or kiwi.
- Prep Time: 10 minutes
- Cook Time: 10-12 minutes
- Category: Breakfast, Snack, Dessert
- Method: Breakfast, Snack, Dessert
- Cuisine: Baked