This Valentine Vintage Heart Cake is the perfect way to show your love this Valentine’s Day! With its elegant, old-fashioned charm and romantic appeal, this cake combines delicate layers of soft, moist cake, a rich and smooth filling, and a gorgeous vintage-inspired decoration that’s sure to make your loved ones swoon. Whether you’re celebrating with a special someone or indulging in a festive treat with family or friends, this cake is a delightful way to make your Valentine’s Day extra sweet. The vintage heart design adds a unique, timeless feel that makes this cake the centerpiece of any celebration.
Why You’ll Love This Recipe
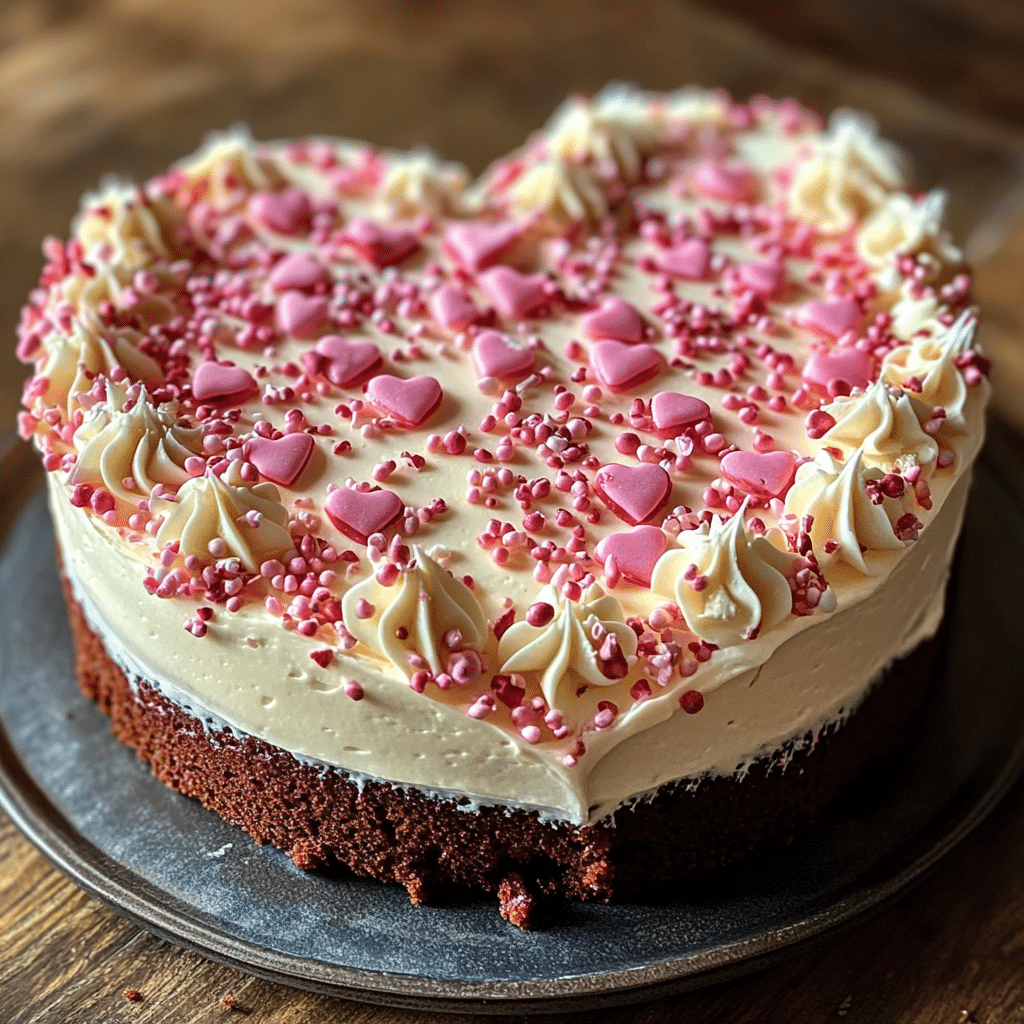
1. Elegant and Beautiful
The vintage heart design is both timeless and romantic, making this cake a beautiful addition to any Valentine’s Day celebration. It’s sure to impress with its delicate design and lovely presentation.
2. Delicious Layers of Flavor
This cake is not only a feast for the eyes but also for the taste buds. With its light and moist cake layers, creamy frosting, and delicious fillings, it’s an irresistible treat from start to finish.
3. Perfect for Special Occasions
Whether it’s Valentine’s Day, an anniversary, or any romantic celebration, this cake fits the occasion perfectly. Its intricate design makes it ideal for an intimate dinner or a sweet surprise for a loved one.
4. Customizable Design
While the vintage heart look is classic, you can customize the decorations to suit your style. Add edible flowers, sprinkles, or even your favorite colored icing to make the cake truly yours.
5. Fun to Make and Share
Baking and decorating this Valentine Vintage Heart Cake is a fun activity that you can share with a loved one or friends. It’s a great way to bond while creating something beautiful and delicious together.

Ingredients
- All-purpose flour
- Granulated sugar
- Baking powder
- Baking soda
- Salt
- Unsalted butter
- Eggs
- Buttermilk
- Vanilla extract
- Red food coloring
- Heavy cream
- Powdered sugar
- Cream cheese (for frosting)
- Whipped cream (for filling and decoration)
- Butter (for frosting)
Variations
- Different Cake Flavors: While a classic vanilla or red velvet flavor works perfectly, feel free to get creative with your cake flavor. Chocolate, strawberry, or even a fun lemon cake would work beautifully for this recipe.
- Frosting Swaps: If you’re not a fan of cream cheese frosting, you can opt for buttercream frosting or whipped cream for a lighter finish.
- Edible Flowers: Decorate the vintage heart with edible flowers such as roses, pansies, or violets for an extra romantic touch.
How to Make the Recipe
Step 1: Preheat the Oven
Preheat your oven to 350°F (175°C). Grease and flour two heart-shaped cake pans to prepare them for baking.
Step 2: Mix the Dry Ingredients
In a medium bowl, whisk together the flour, sugar, baking powder, baking soda, and salt. Set aside.
Step 3: Cream the Butter and Sugar
In a large bowl, beat the butter and sugar together until light and fluffy. This should take about 3 minutes. Add the eggs, one at a time, mixing well after each addition.
Step 4: Add Wet Ingredients
Add the vanilla extract and mix. Then, gradually add the buttermilk to the butter-sugar mixture, mixing until smooth.
Step 5: Add the Dry Ingredients
Slowly add the dry ingredients to the wet mixture, mixing until just combined. Be careful not to overmix to keep the cake light and fluffy.
Step 6: Add the Red Food Coloring
If you want a traditional red velvet look, add a few drops of red food coloring to the batter and stir until the desired color is reached.
Step 7: Bake the Cake
Divide the batter evenly between the two prepared heart-shaped cake pans. Bake for 25-30 minutes, or until a toothpick inserted into the center comes out clean. Let the cakes cool in the pans for 10 minutes, then transfer to wire racks to cool completely.
Step 8: Prepare the Frosting
While the cake is cooling, prepare the frosting. In a large bowl, beat together the cream cheese, butter, and powdered sugar until smooth and fluffy. Add a few tablespoons of heavy cream to achieve your desired frosting consistency.
Step 9: Assemble the Cake
Once the cakes are completely cool, place one heart-shaped layer on a serving platter. Spread a layer of whipped cream or frosting on top of the cake. Place the second heart-shaped layer on top and frost the entire cake with the cream cheese frosting.
Step 10: Decorate
To create the vintage heart effect, you can pipe decorative icing along the edges of the cake. Use a piping bag fitted with a small star tip for a textured effect or create elegant swirls for a more classic look. Add any additional decorations like edible flowers or colored sprinkles for extra flair.
Step 11: Serve and Enjoy
Once your cake is beautifully decorated, slice and serve immediately. Pair it with a glass of champagne or a cup of tea for a truly special treat.

Tips for Making the Recipe
- Room Temperature Ingredients: Make sure your butter, eggs, and buttermilk are at room temperature for the best cake texture.
- Don’t Overmix: Mix the batter just until combined to avoid overworking the flour and creating a dense cake.
- Coloring the Cake: Add the food coloring gradually to achieve the perfect shade. You can always add more if needed.
- Chill the Cake: If you’re decorating the cake with whipped cream, make sure the frosting is chilled before piping to ensure the design holds its shape.
How to Serve
This Valentine Vintage Heart Cake is perfect for a romantic dinner or afternoon tea. Serve it as the centerpiece of a Valentine’s Day gathering or as a sweet end to a lovely meal. Pair it with a scoop of vanilla ice cream or fresh berries for a complete dessert experience.
Make Ahead and Storage
Storing Leftovers
Store any leftover cake in an airtight container in the refrigerator for up to 3-4 days. The cake will stay moist, and the flavors will continue to meld together for an even more delicious treat.
Freezing
You can freeze the cake (without frosting) for up to 1-2 months. Wrap each layer tightly in plastic wrap and foil, and store in a freezer-safe container. Thaw the cake overnight in the refrigerator before frosting and serving.
Reheating
To enjoy a slice of cake warm, simply microwave individual servings for 10-15 seconds, or until warm. You can also serve the cake chilled for a refreshing treat.
FAQs
1. Can I use a different cake pan shape?
Yes! If you don’t have a heart-shaped pan, you can use round cake pans or any other shape that suits your occasion.
2. Can I use store-bought frosting?
Yes, you can use store-bought cream cheese frosting or buttercream frosting if you’re short on time. Homemade frosting will give the cake a fresher, more personalized flavor.
3. How can I make the cake more moist?
For an even moister cake, you can substitute part of the buttermilk with sour cream or yogurt to add extra moisture and richness.
4. Can I use a boxed cake mix for this recipe?
Yes, you can substitute a boxed cake mix for the homemade cake, but the vintage design and flavor will shine best with a homemade base.
5. Can I add fruit to the filling?
Yes! You can fold in fresh raspberries, strawberries, or cherries into the whipped cream or frosting for a fruity twist that complements the richness of the cake.
6. Can I make this cake a day ahead?
Absolutely! In fact, this cake often tastes even better the next day once the flavors have had time to meld. Just store it covered in the fridge.
7. How can I make this cake dairy-free?
To make the cake dairy-free, substitute non-dairy milk (like almond or oat milk) for buttermilk and use dairy-free cream cheese and butter for the frosting.
8. How do I get the perfect vintage heart design?
For the best vintage effect, use a piping bag with a small star tip to create intricate designs along the edges and top. Practice your piping technique on parchment paper if you’re unsure.
9. Can I make this cake in advance and freeze it?
Yes! You can freeze the cake layers without frosting and then assemble and frost once you’re ready to serve.
10. What other decorations can I use for a vintage look?
Consider using lace, edible gold leaf, or even hand-piped scrolls for a truly vintage feel. Small heart-shaped candies or fondant decorations can also enhance the look.

Conclusion
This Valentine Vintage Heart Cake is the ultimate dessert to share with someone special this Valentine’s Day. Its stunning design, moist layers, and rich frosting make it the perfect way to celebrate love and create lasting memories. Whether you’re looking for a romantic treat for your significant other or want to impress guests at a gathering, this cake will surely be a hit. So, grab your ingredients, get baking, and enjoy this timeless dessert with your loved ones!
Print
Valentine Vintage Heart Cake Recipe
- Total Time: 1 hour 30 minutes (including cooling)
- Yield: 12–16 servings 1x
- Diet: Vegetarian
Description
This Valentine Vintage Heart Cake is a beautiful and romantic dessert that captures the charm of old-fashioned cakes while offering a modern twist. With layers of moist cake, creamy frosting, and delicate decorations, it’s perfect for celebrating love on Valentine’s Day. The cake is not only stunning to look at but also deliciously sweet, making it an ideal treat for your loved ones!
Ingredients
For the Cake:
- 2 1/2 cups all-purpose flour
- 2 teaspoons baking powder
- 1/2 teaspoon salt
- 1 cup unsalted butter, softened
- 1 1/2 cups granulated sugar
- 4 large eggs
- 1 teaspoon vanilla extract
- 1 cup whole milk
- 1/2 cup sour cream
- Red food coloring (optional, for color)
For the Frosting:
- 1 cup unsalted butter, softened
- 4 cups powdered sugar
- 1 teaspoon vanilla extract
- 2–3 tablespoons heavy cream or milk
- 1/4 teaspoon salt
- Red food coloring (optional, for color)
For Decoration:
- Sprinkles (heart-shaped, or vintage-style)
- Edible pearls (optional)
- Fresh flowers (optional)
- Small heart-shaped cookie cutters (optional, for decoration)
Instructions
- Preheat the Oven:
Preheat your oven to 350°F (175°C). Grease and flour two 9-inch round cake pans. - Prepare the Cake Batter:
In a medium bowl, whisk together the flour, baking powder, and salt. Set aside. In a separate large bowl, cream together the butter and sugar until light and fluffy. Add the eggs one at a time, beating well after each addition, and then mix in the vanilla extract. - Mix the Wet and Dry Ingredients:
Gradually add the dry ingredients to the butter mixture, alternating with the milk and sour cream, beginning and ending with the dry ingredients. If desired, add a few drops of red food coloring to give the batter a soft pink or red hue. Mix until smooth and fully combined. - Bake the Cake:
Divide the batter evenly between the prepared cake pans. Bake in the preheated oven for 25-30 minutes, or until a toothpick inserted into the center comes out clean. Let the cakes cool in the pans for 10 minutes, then transfer them to a wire rack to cool completely. - Make the Frosting:
While the cakes are cooling, prepare the frosting. In a large bowl, beat the butter until creamy and smooth. Gradually add the powdered sugar, one cup at a time, and beat until fully incorporated. Add the vanilla extract, salt, and enough heavy cream or milk to achieve a smooth, spreadable consistency. Add red food coloring for a soft pink or red shade, if desired. - Assemble the Cake:
Once the cakes have cooled completely, place one layer of cake on a serving platter. Spread a layer of frosting over the top, then place the second cake layer on top. Frost the top and sides of the entire cake with the remaining frosting. - Decorate the Cake:
Use heart-shaped sprinkles, edible pearls, and fresh flowers to decorate the top of the cake. If desired, use small heart-shaped cookie cutters to make patterns on the surface with powdered sugar or additional frosting. - Serve:
Slice the cake into wedges and serve immediately, or refrigerate until ready to serve. Enjoy your vintage-inspired Valentine’s Day cake!
Notes
- You can make the cake in advance and store it in an airtight container for up to 3 days.
- If you prefer a different flavor, you can substitute the vanilla extract with almond extract for a unique twist.
- To make the cake even more special, you can fill the center with raspberry or strawberry jam before frosting.
- Prep Time: 20 minutes
- Cook Time: 30 minutes
- Category: Dessert, Cake, Valentine’s Day
- Method: Baking
- Cuisine: American, Vintage